
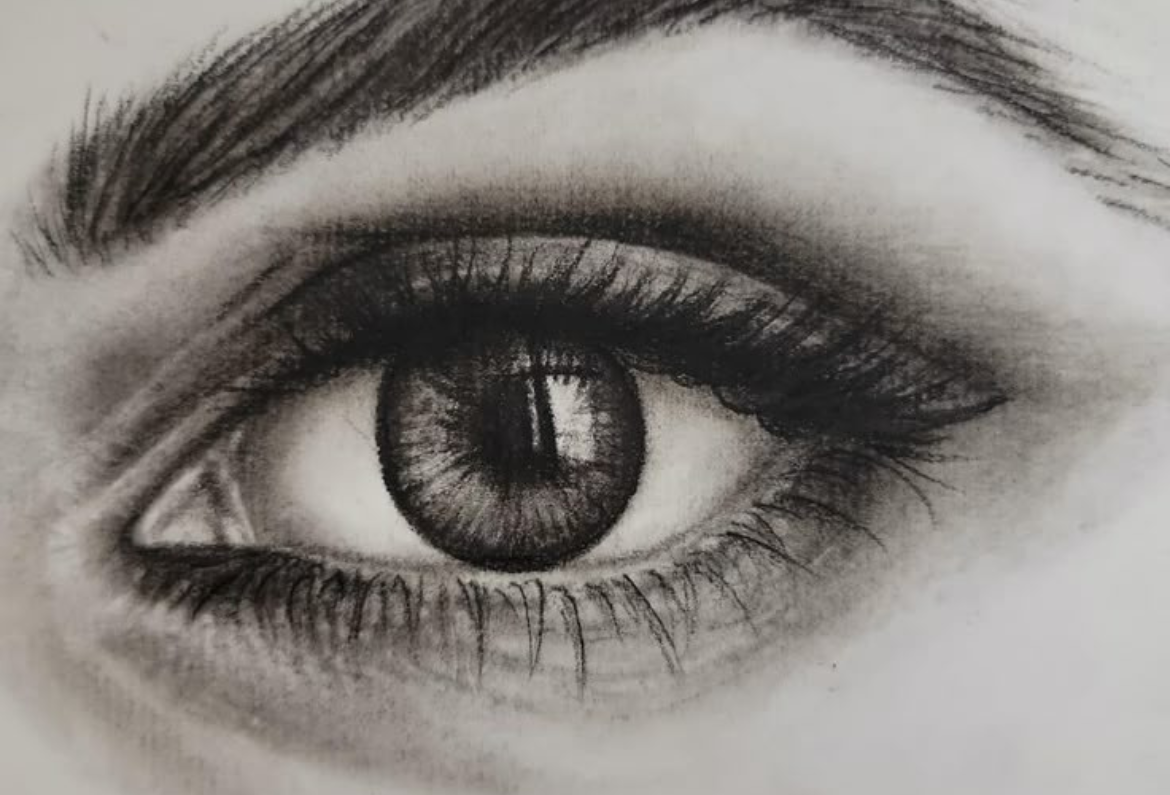
How to Start Charcoal Drawing: Tools, Techniques & First Exercises
Charcoal drawing is one of the most expressive and beginner-friendly art forms. With just a few materials and some simple techniques, you can create artworks full of depth, contrast, and emotion. Whether you are just starting out or exploring charcoal for the first time, this guide will help you understand the basics and begin practicing confidently.
1. Essential Tools You’ll Need
You don’t need a full studio to begin — just a few core supplies:
| Tool | Purpose | Tip |
| Vine Charcoal | Light sketching & easy erasing | Great for initial outlines |
| Compressed Charcoal | Deep black values & strong contrast | Use sparingly to build depth |
| Charcoal Pencils | Detailing & precise strokes | Keep a sharpener handy |
| Blending Stumps / Tissues | Smooth gradients and shading | Avoid using fingers too much (adds oil!) |
| Kneaded Eraser | Lifting highlights & correcting mistakes | Can be shaped like a brush tip |
| Textured Drawing Paper | Helps charcoal grip the surface | 120–200 GSM is ideal |
2. Basic Techniques to Understand
a) Pressure Control
Charcoal responds heavily to pressure:
- Light pressure = soft, pale tones
- Heavy pressure = darker, bolder values
Practice shading from light to dark using one continuous stroke.
b) Blending
Soft transitions are key in charcoal work.
Try blending with:
- Tissue paper
- Blending stump
- Soft brush
- Cotton pads
Avoid smudging with your fingers often — natural oils can create uneven patches.
c) Layering
Build values slowly.
Start light → add darker tones → finish with shadows and highlights.
3. Understanding Light & Shadow
To create realistic depth, learn these shadow types:
| Term | Meaning |
| Highlight | Brightest point where light hits |
| Mid Tone | Middle values — neither too dark nor light |
| Core Shadow | Deepest shadow directly away from light |
| Reflected Light | Soft bounce of light inside shadowed areas |
| Cast Shadow | Shadow created on the surface beneath the object |
This understanding makes even simple objects look 3D and realistic.
4. Beginner Practice Exercises
You can start improving with just these simple exercises:
Exercise 1: Shading Scale
Draw a rectangle and divide it into 7 sections.
Shade from light → dark gradually.
This trains your control over pressure and layering.
Exercise 2: Drawing a Sphere
- Draw a circle.
- Decide where your light source is.
- Shade the opposite side darker.
- Blend gradually to mid tones.
- Add highlight with kneaded eraser.
- Add a soft cast shadow underneath.
This helps in learning form & light.
Exercise 3: Simple Object Study
Choose everyday objects:
- A cup
- An apple
- A folded cloth
Focus only on light, shadow & shape — not details.
5. Final Tips for Better Charcoal Drawings
- Keep a paper sheet under your drawing hand to prevent smudging.
- Step back occasionally to check your drawing’s balance.
- Use fixative spray only after you’re completely done.
- Work slowly — charcoal is about gradual depth, not speed.
Conclusion
Charcoal offers a world of artistic freedom. Once you learn to build layers and control your tones, you’ll find it capable of capturing mood, character, and emotion unlike any other medium. Start with simple exercises, stay patient, and allow the medium to guide you.